For More Info!


Docker: A To Z + Hands On Lab! Part 3
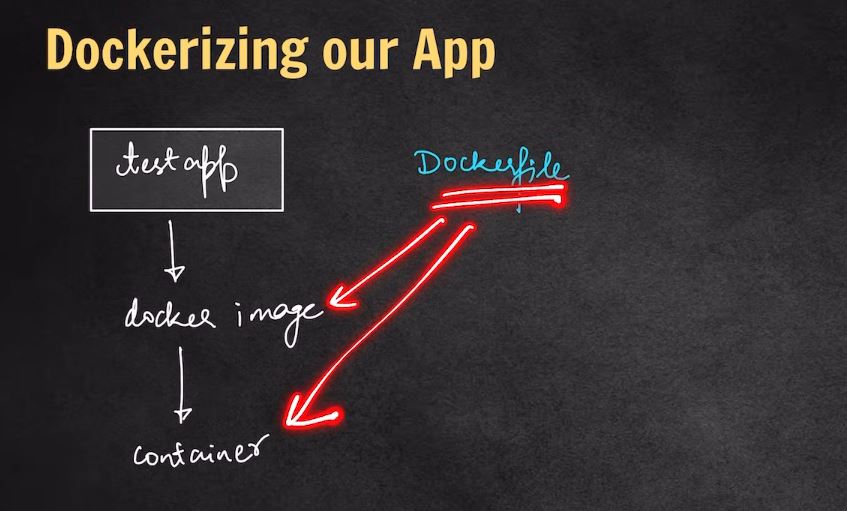
Dokcerizing Our App
DockerFile
A Dockerfile is basically a text file with a set of instructions used to build a Docker image.
Think of it like a recipe for creating a container.
It tells Docker how to set up an environment: what base image to start from, what software to install, what files to include, and how to run your app.
🔧 Common Dockerfile Structure:
Here’s a super basic example:

# Start from a base image
FROM node:14

# Set working directory inside the container
WORKDIR /app

# Copy package.json and install dependencies
COPY package.json ./
RUN npm install

# Copy the rest of your app’s code
COPY . .

# Expose the port your app runs on
EXPOSE 3000

# Start the app
CMD ["npm", "start"]
🧠 Breakdown:
FROM: Specifies the base image (e.g., Node.js).WORKDIR: Sets the working directory inside the container.COPY: Copies files from your host into the container.RUN: Executes commands like installing dependencies.EXPOSE: Informs Docker what port the app uses.CMD: Defines the default command to run the app.
In depth below


Once you have a Dockerfile, you can run:
docker build -t my-app .
That creates a Docker image, and then:
docker run -p 3000:3000 my-app
That runs a container from the image.
Dockerfile Final Results looks like this below

and run this command in terminal


Now run your docker image
docker run testapp:1.0The Docker container may appear to be created, but it’s not actually running
Note
so try this command in your terminal
docker run -it testapp:1.0 bash

Important
Individual containers don’t need a YAML file.
But if you’re running multiple containers (like your app + a database), using a YAML file with Docker Compose is recommended—it makes setup and coordination easier.


yaml code
version: "3"
services:
  app:
    image: testapp:1.0
    ports:
      - "3000:3000"
    depends_on:
      - mongo
    environment:
      - MONGO_DB_USERNAME=admin
      - MONGO_DB_PWD=qwerty

  mongo:
    image: mongo
    environment:
      - MONGO_INITDB_ROOT_USERNAME=admin
      - MONGO_INITDB_ROOT_PASSWORD=qwerty
✅ Do we need a Dockerfile and docker-compose.yml?
No, they’re not strictly required—but they’re best practice.
🔧 Minimal way to Dockerize a Node.js app:
You technically don’t need to copy node_modules/, because you can install them inside the container using:
RUN npm install
This is the preferred way, actually.
🧠 Summary (in plain terms):
- ❌ You don’t have to use a Dockerfile or YAML file.
- ✅ But a
Dockerfilemakes it easier to automate builds. - ✅ A
docker-compose.ymlis useful for multi-container setups (like app + DB). - ✅ No need to copy
node_modules— just doRUN npm installin the Dockerfile.
🔍 Example:
FROM node:18-alpine
WORKDIR /app
COPY . .
RUN npm install
CMD ["node", "server.js"]
🧾 What is .dockerignore?
.dockerignore is like .gitignore, but for Docker. It tells Docker which files and folders to ignore when building the image.
🧠 Why use it?
- 🏃 Faster builds – Docker skips unnecessary files.
- 📦 Smaller images – Keeps junk like
node_modules,.env,.git, logs, etc. out of the image. - 🔒 More secure – Avoids accidentally including secrets or config files.
📌 Example .dockerignore for a Node.js app:
node_modules
npm-debug.log
Dockerfile
.dockerignore
.git
.gitignore
.env
This tells Docker: “don’t copy these into the image during build.”
🔍 Without .dockerignore:
Docker will copy everything in your project folder — even large or sensitive files.
Live Project
Deploy web app To Dockerize web app on Nginx Server using AWS App Runner
Step 1 : Create Container Image
1. In a new terminal window, run the following commands to create a new folder called nginx-web-app, and navigate to the folder.
mkdir nginx-app-runner
cd nginx-app-runner
Select the index.htmlfile, and update it with the following code. Then, save the file.

Create another file named Dockerfile, and update it with the following code. Then, save the file.

In the open terminal window, run the following command to create container image.
docker build -t nginx-app-runner .
Also can view on Docker Desktop If you’re using Windows or MAC OS

Step 2 : Push Image to amazon ECR

Once the repository has been created, select the radio button for the repository, and then select View push commands

Follow all the steps in the pop-up window, to authenticate and push the image to the repository.

Step 3
In Vs code Connect Aws via Cli click to learn more

Step 4
choose Create an App Runner service.

In the Source and deployment section, leave the default selections for Repository type and Provider. For Container image URI, select Browse.

In the Source and deployment section, leave the default selections for Repository type and Provider. For Container image URI, select Browse.

In the Deployment settings section, for ECR access role, select Create new service role, and choose Next or existing role if you created before

On the Configure service page, for Service name enter nginx-web-app-service, and change the Portto 80. Leave the rest as default, and select Next.

On the Review and create page, review all inputs, and choose Create & deploy.

Once the status updates to Running, choose the default domain name URL to view the web app.


Step 5 : Delete all Resources